CAPTURING THE SEA IN WATERCOLOUR, WITH WENDY PARKYN
This was a class unlike any other I’ve experienced so far. Instead of painting a scene in front of us and than asking us to paint one, Wendy instead opted to demonstrate a whole host of techniques she’s picked up over the years painting the ocean.
I found it so inspiring. Now that the redesign of SophieLawson.com is finished, I can get back to producing art, and I plan to give some of the tips and tricks Wendy showed us a try. Hopefully I don’t get lost at sea lol Sea what I did there? See what I did there as well? lol Sorry, I’ll sea myself out. I did it again lol
“WHITE IS A FOUR LETTER WORD IN WATERCOLOUR – NEVER USE IT!”
– Wendy Parkyn
Wendy’s demo was so good, it ran for two hours. We we supposed to have an hours demo and than try some of Wendy’s techniques for our self, but we were all enjoying watching Wendy paint so much, that she was asked to carry on. There was so much advice in this class, I feel it will be best to list all my notes in byte sized chunks.
One of the first things Wendy said, was that water isn’t a colour. It’s what’s around it and underneath it, that determines how we see it. So water can, effectively, be any colour! There are different types of sea and Wendy has come up with different terms for each, some of them include: Wiggly Water, Sparking Sea, Dragging, and Steps.

WIGGLY WATER
Wiggly Water can be achieved with candle wax, by rubbing it on the paper first

SPARKLING SEA
Sparkling Sea can be achieved in multiple ways, such as via Dry Brush (left image) or rubbing Fine Sandpaper across the dry painting (right image).
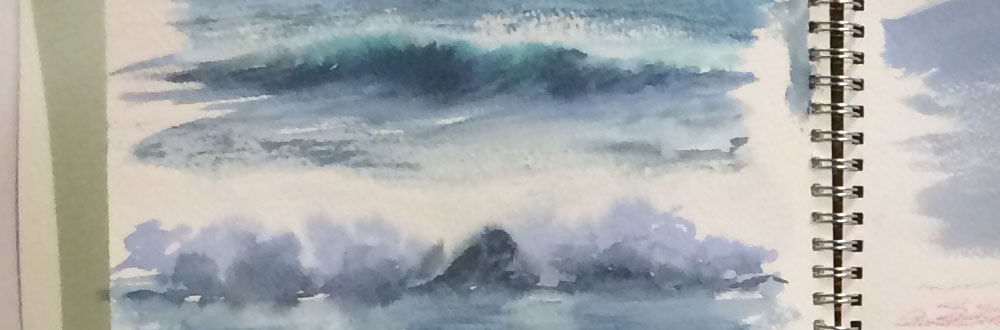
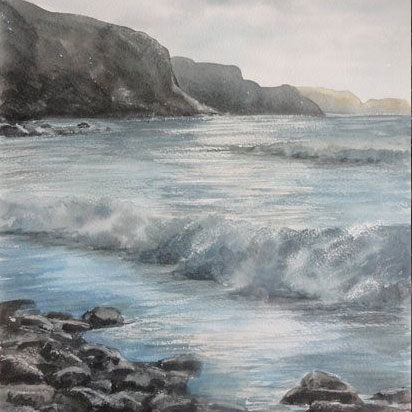
STEPS
Steps can be seen in the white foam that builds up close to shore
Wendy refers to this foam as white sausages :)
Never add water to foam, it needs to be pure white.
Foam can be achieved with Sand Paper, or with masking Fluid.
Colbolt is a good colour to use for the shadows of foam.
With Waves, look underneath the wave to see which way it’s coming.
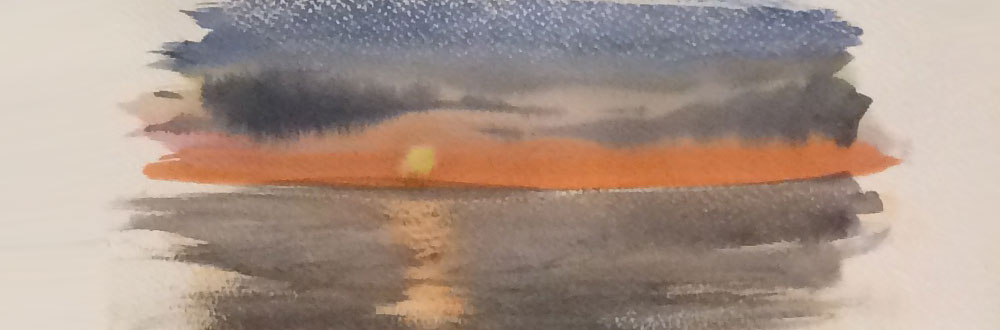
SUN REFLECTIONS
Sun reflections can be achieved using candle wax also. Flick the wax back and forth, than paint on top of it. Less is more with this technique. With sunsets, remember converging parallel lines and that things being darker closer to you and lighter further back will create an illusion of depth
WENDY’S TIPS
- With Watercolour, always make sure you can see through to the paper
- Perylene Green, by Winsor & Newton, is her Special colour. Nice when mixed with ultramarine blue
- Raw Umber is key, and Wendy says the cheap ones produce a better colour!
- Never paint vertically, always paint in the direction of the water or rock
- Keep it light, even if it’s dark. This will make the darker appear darker (a Paradox)
- A wet brush can be used to remove hard edges
- Buy a ton of cheap brushes to use with masking fluid
- If a cliff is in shadow, glaze over it once it is dry
-
Dry Brush doesn’t work on smooth paper, and have a bit of paper at the side to get rid of excess
-
don’t stop
-
start off the paper, so your brush is already in motion as it comes into the scene
-
Always paint in layers
-
Light to Dark
- People are just a basic shape, and never draw a circle for a head, it’s just a blob
- A lot of success with water colour is about timing; knowing when it’s either too wet or too dry. Timing, Wendy says this only comes with experience.
- Wendy wipes water on her apron – I want an apron, a pink one, with my name on it lol :)

“WHITE SAUSAGES”
– Wendy Parkyn
One of the main things I kept getting from this class, was that you must have a plan. Something I observed with Louise Courtnell in her Acrylics workshop. You have to plan ahead. Ask yourself, where is the light coming from? What’s light on dark? What’s dark on light? Study the scene. Paint in layers from light to dark. Always paint in the direction of the objects. All of this planning ahead will help you decide how you’re going to paint, and which technique/s will be best to achieve it.
An example she gave was if you need to paint a boat on sparkling sea. You can plan ahead and paint the boat, cover it in candle wax, then sand paper the whole sea to create the sparkling look. The boat will not be affected. She once didn’t plan ahead and so cheated by painting a boat in later with acrylic :) There’s always a way :)
She also recommended playing around with super pointy pallet knifes, and showed us fun little exercises such as: creating waves, producing quick horizontal lines and rotating the knife to create the sail of a boat. The boat was amazing, a simple little twist and boom, a lovely little boat on the water! Watching her play with the pallet knife looked so much fun!
Wendy kept repeating how important it is to feel the water. Using words like woosh and splosh. I remember Bert Dodson referred to these as trigger words; words you should repeat to yourself while drawing/painting. Repeating these words will subconsciously affect the way you place down your lines, allowing you to create the feeling your feeling.
The class ended with Wendy stripping off lol Not completely, but she took her top off and revealed a t-shirt which said, Light, Medium, Dark. Always remember, paint in layers from light to dark!
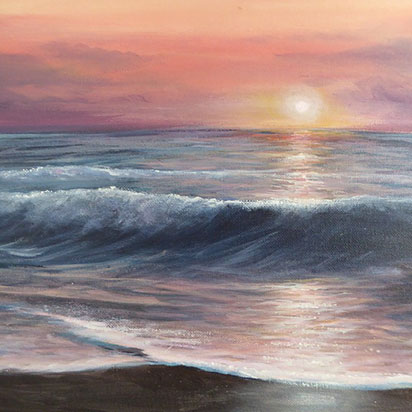
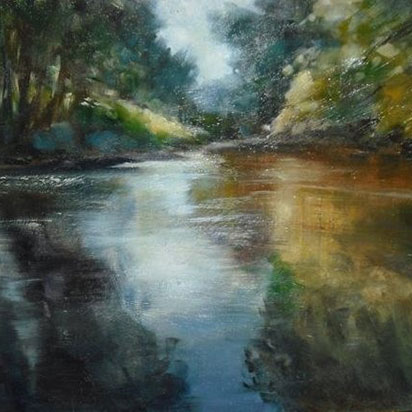
Make sure to visit Wendy Parkyn’s Website to see some of her wonderful water themed work!
ART ENABLES US TO FIND OURSELVES AND LOSE OURSELVES AT THE SAME TIME
– Thomas Merton