THE DIGITAL DREAM WEEK THREE
Week three of the Digital Dream, a 75 day challenge I’ve set myself of Studying and Documenting the process of Learning Digital Painting. A Digital Dream week is 6 days, as I take Thursdays off, Thursday = play day :) Each week I be doing a little blog post, like this one, where I share some of my sketches, struggles, and various tips I’ve picked up.
The main take away from this week, was CLIPPING MASKS ARE AWESOME.
Whereas week one was all about getting to grips with everything, and week two realising how similar to Traditional Drawing working Digitally is, this week was all about understanding some of the key concepts behind how to actually get the software to do what you need it to do. One of these, was:
CLIPPING MASKS
I’d never heard of clipping masks before, and at first they seemed slightly confusing. Than suddenly, it clicked and the true power of clipping masks revealed itself.
Clipping Masks basically allow you to create an invisible duplicate of the layer below it, where you’ll only be able to draw/colour/edit inside of the shape/s on the layer below, yet you won’t be directly effecting the layer below it. Confused? lol It’s best to see for yourself their power, so be sure to check out Matt Kohr’s videos on Clipping Masks
The thing is, once you get your head around them, you start to realise how powerful they are. Every day I keep realising more things they can do.
They basically give you total freedom to go crazy and experiment, knowing the original layer won’t be changed directly. When I realised you could stack clipping masks – I almost exploded with excitement :)
This is one of the true benefits of working digitally, you can play around and experiment with things, safe in the knowledge you’ll always have an earlier ‘safe’ version to fall back on :)
TWO WAYS TO USE CLIPPING MASKS
- Ctrl + Alt + G will create a clipping mask of the currently selected layer
- Alt Clicking between two layers will make the top layer a clipping mask of the layer below
Clipping Masks are so powerful, yet so simple :)
Here’s some of the tings I created during the last six days of The Digital Dream art challenge, where my Daily Digital Gesture Drawing with QuickPoses.com continued.
DAYS 13 TO 18
GESTURE DRAWING
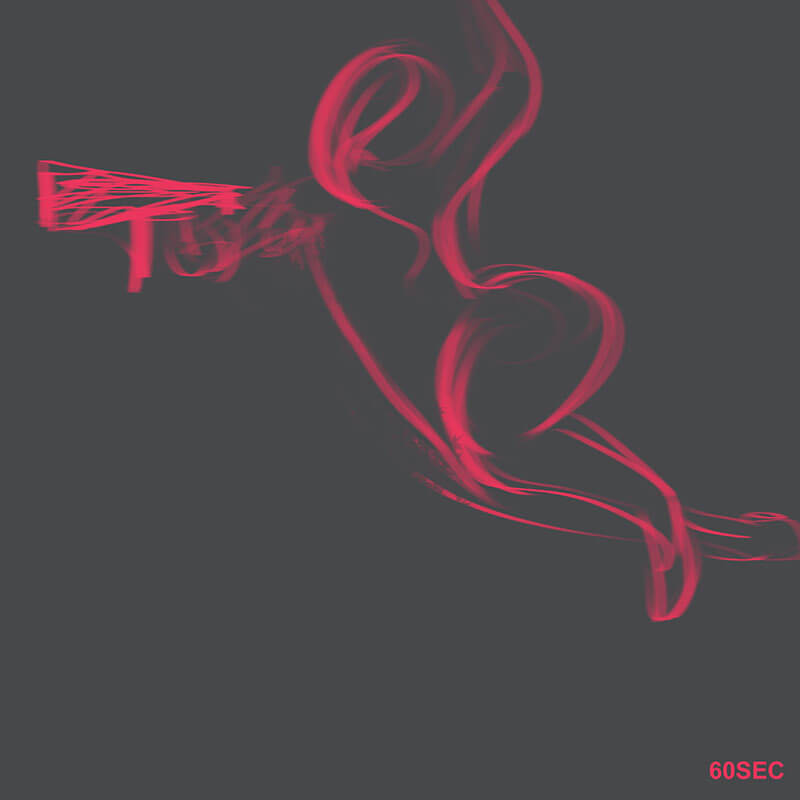
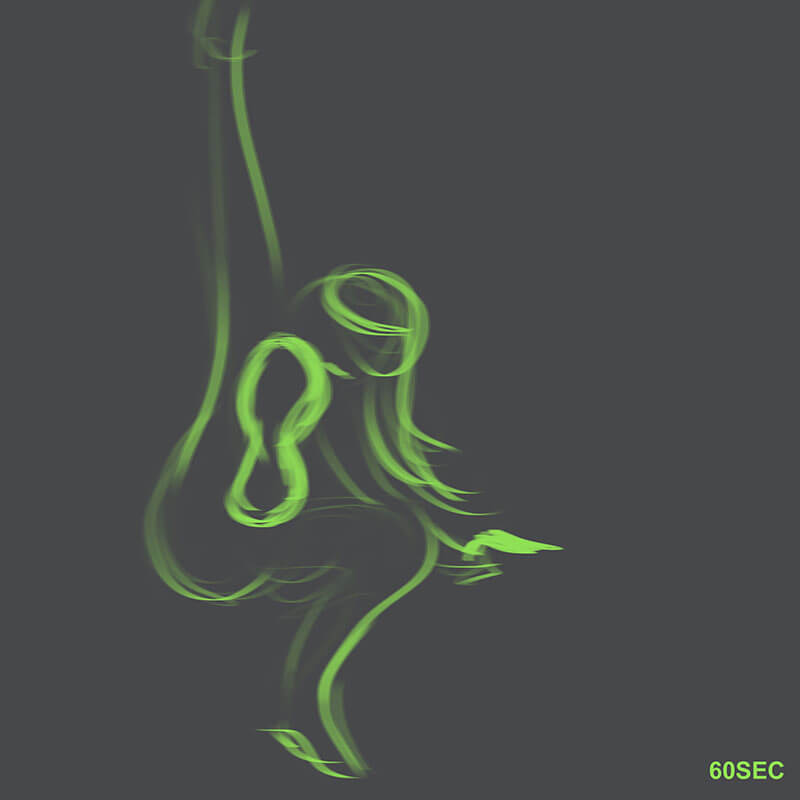
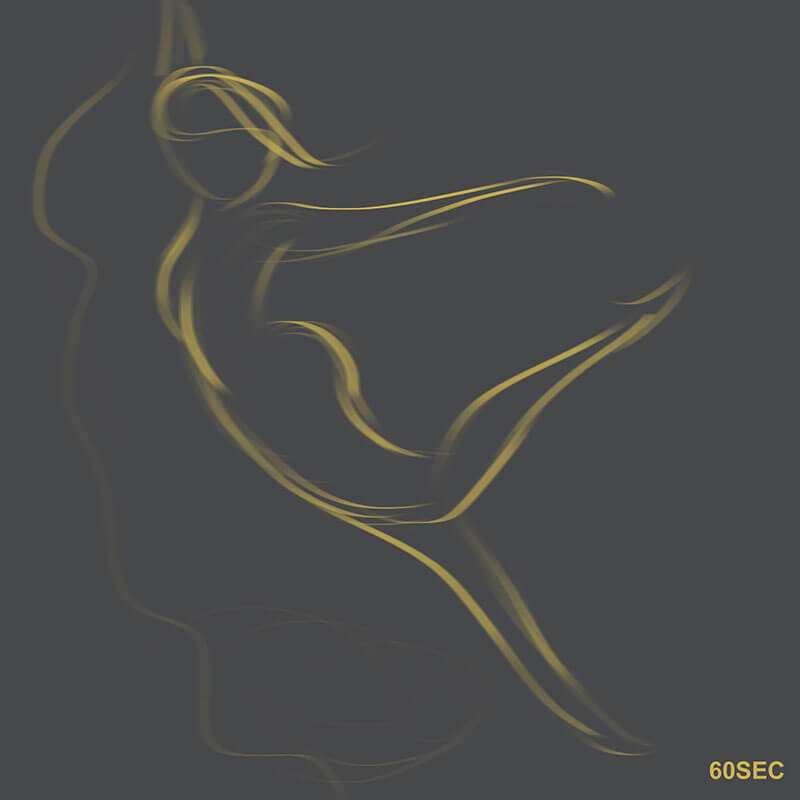
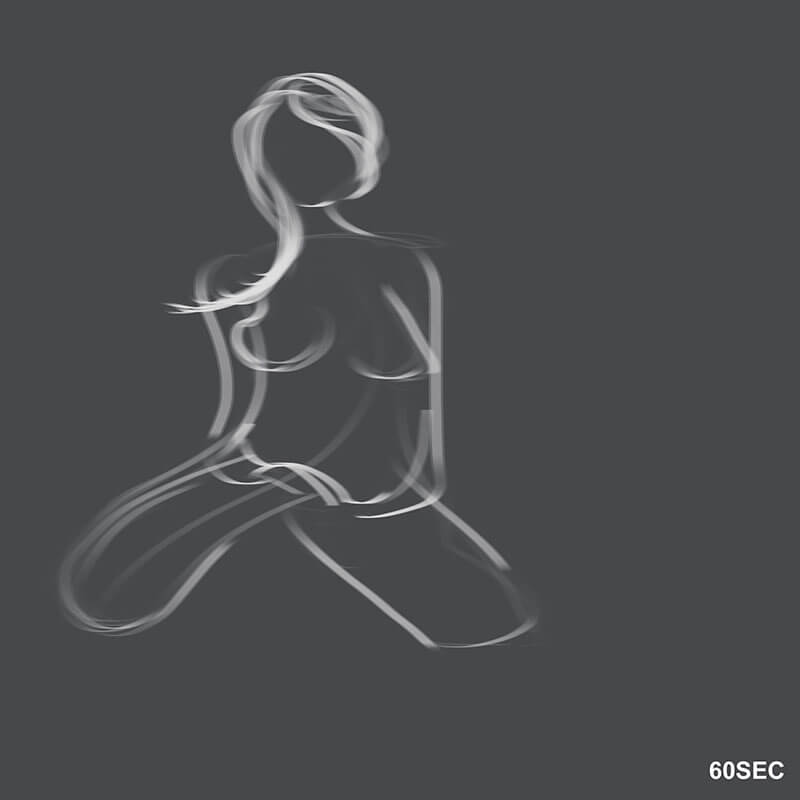
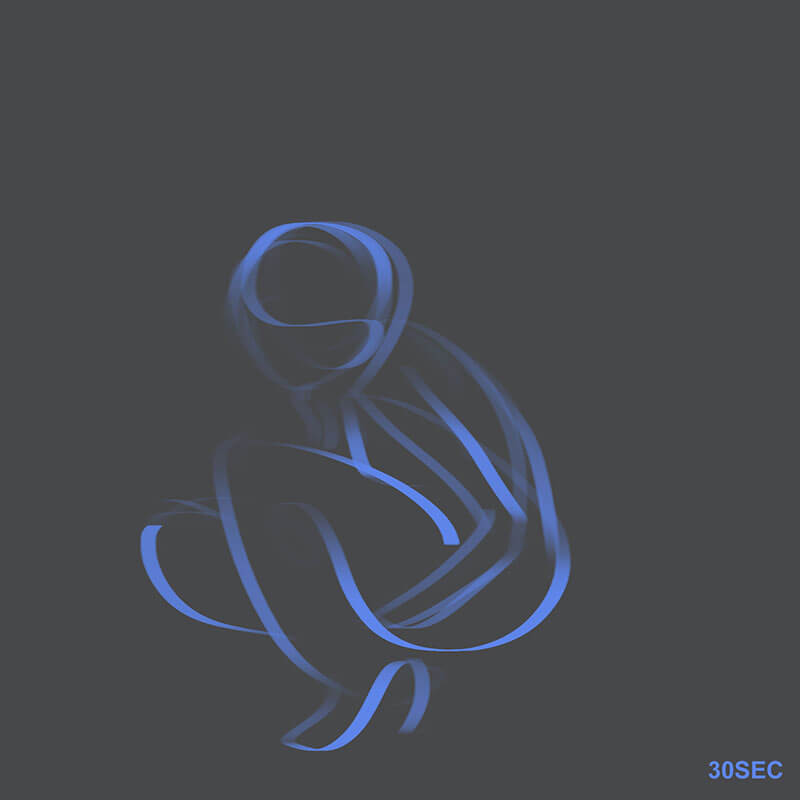
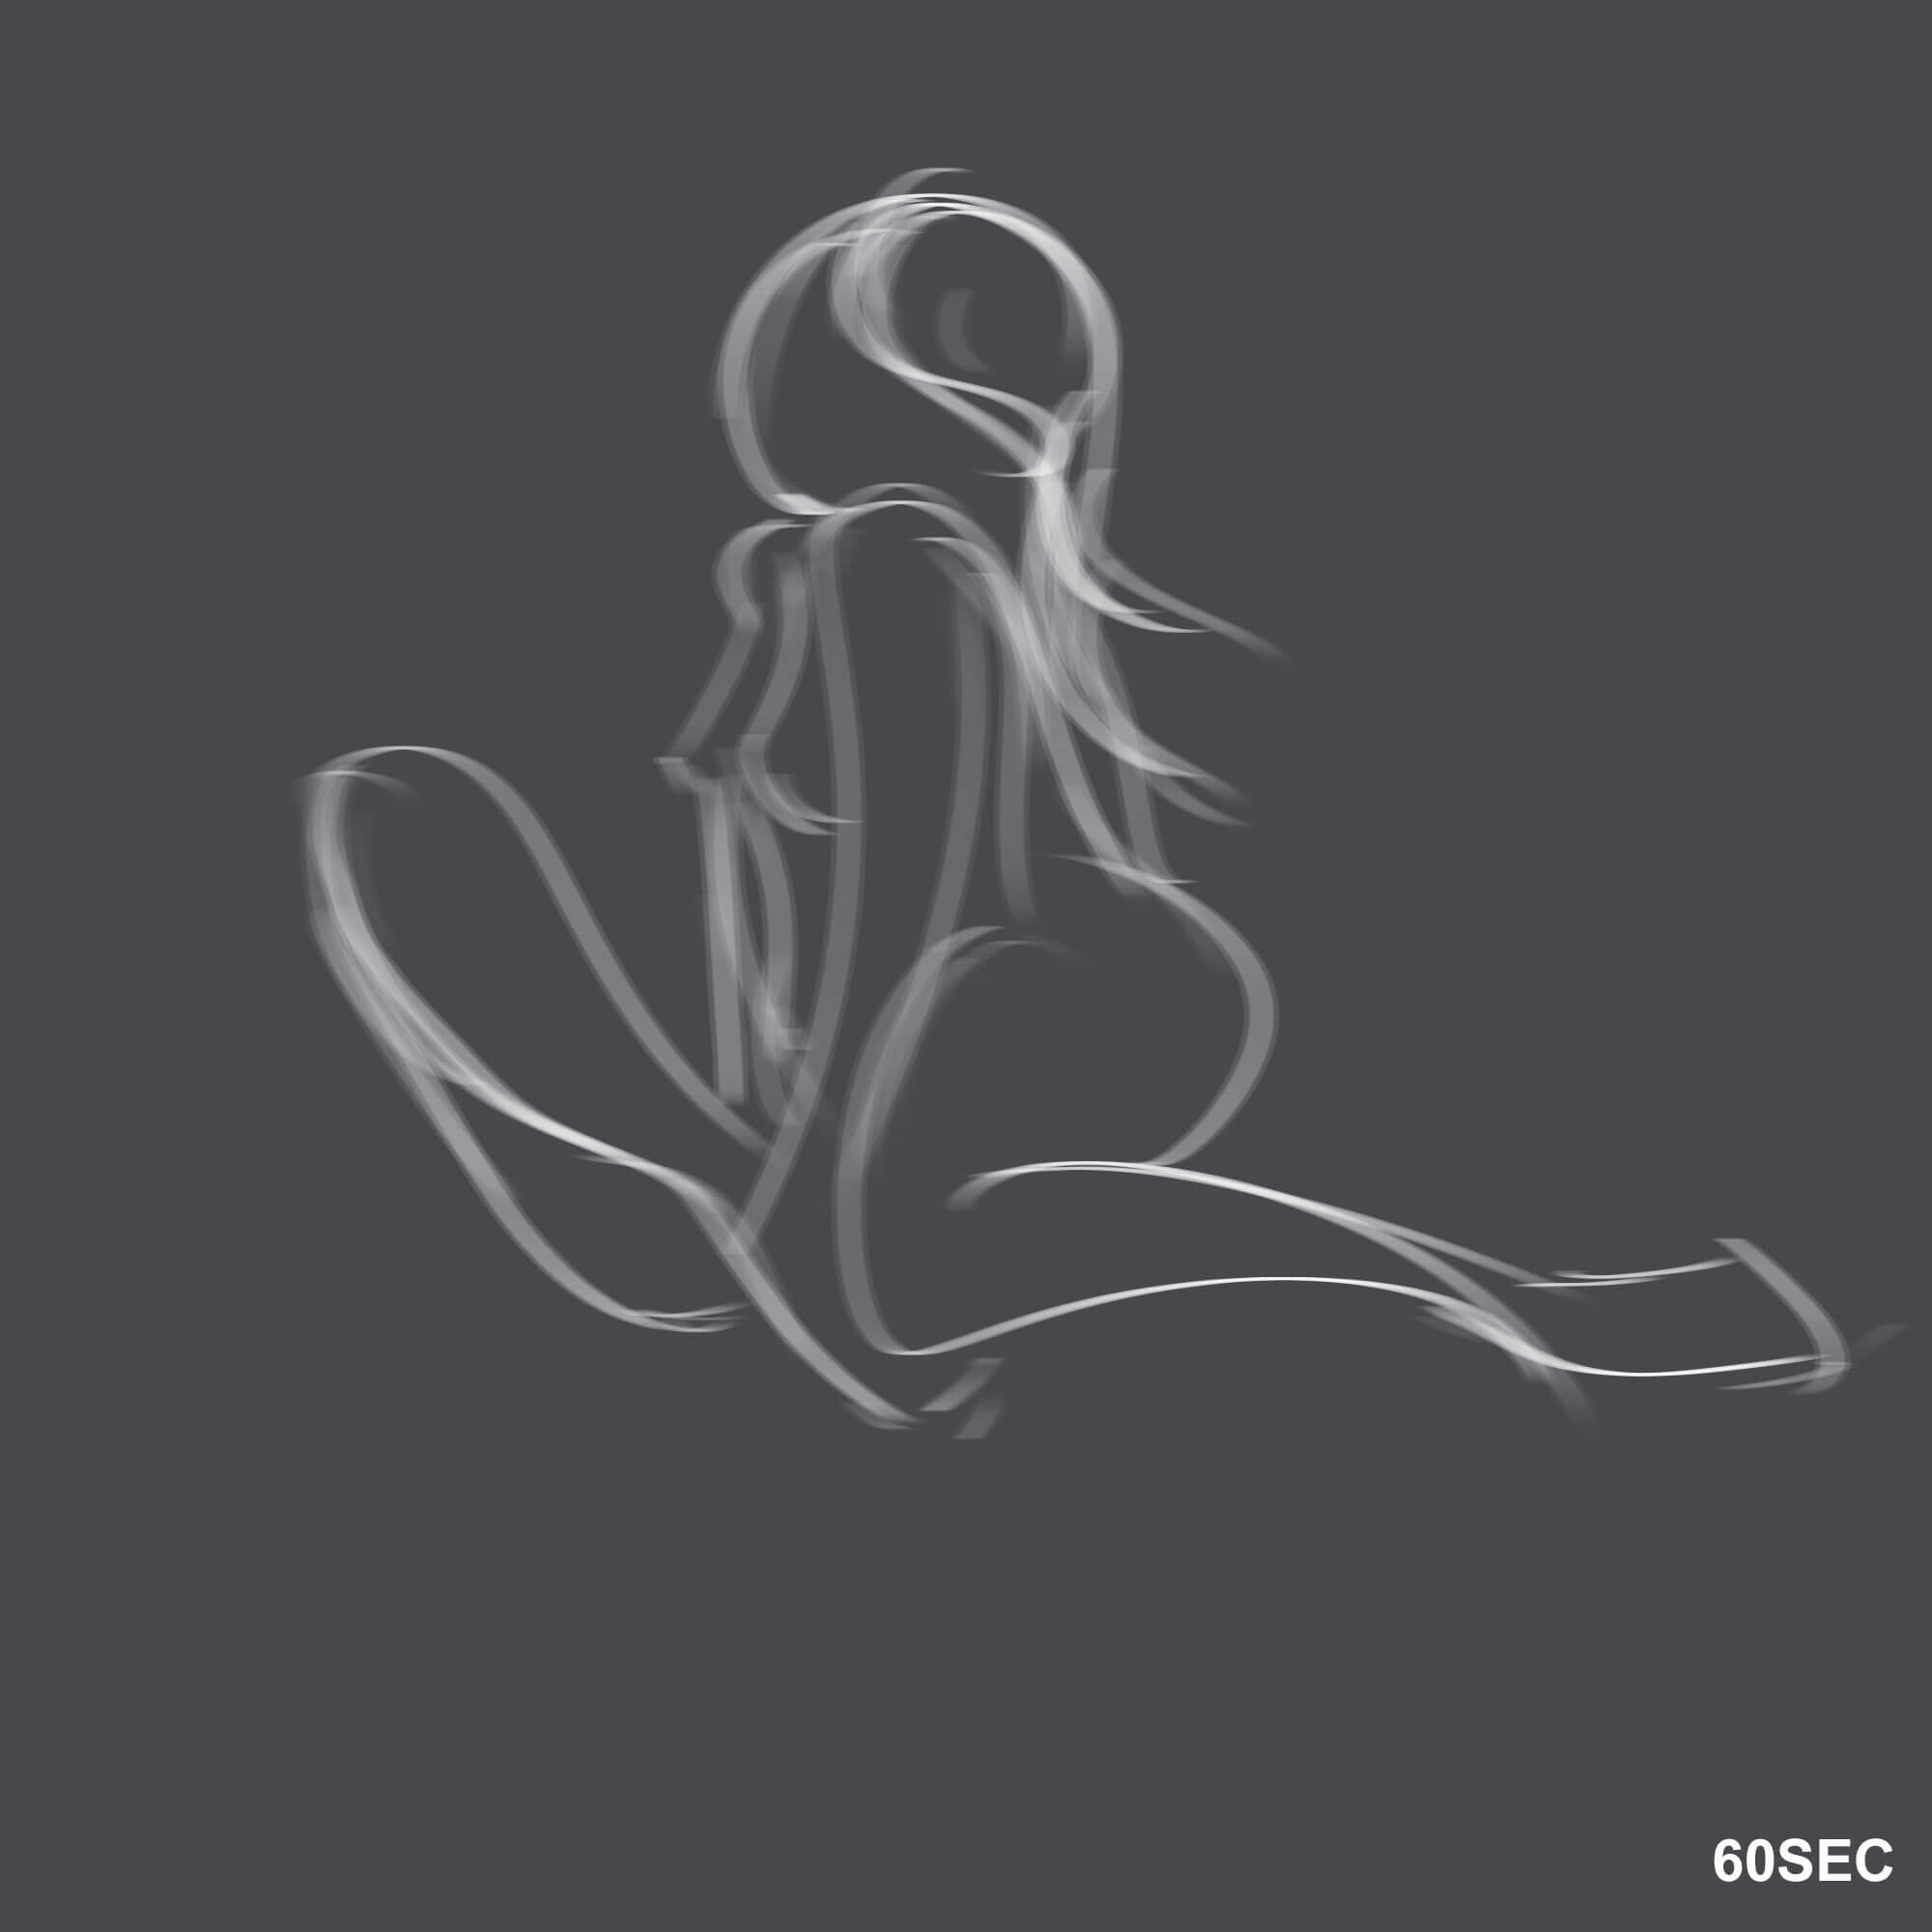
DAYS 13 TO 18
STUDY EXERCISES
STUDY EXERCISES
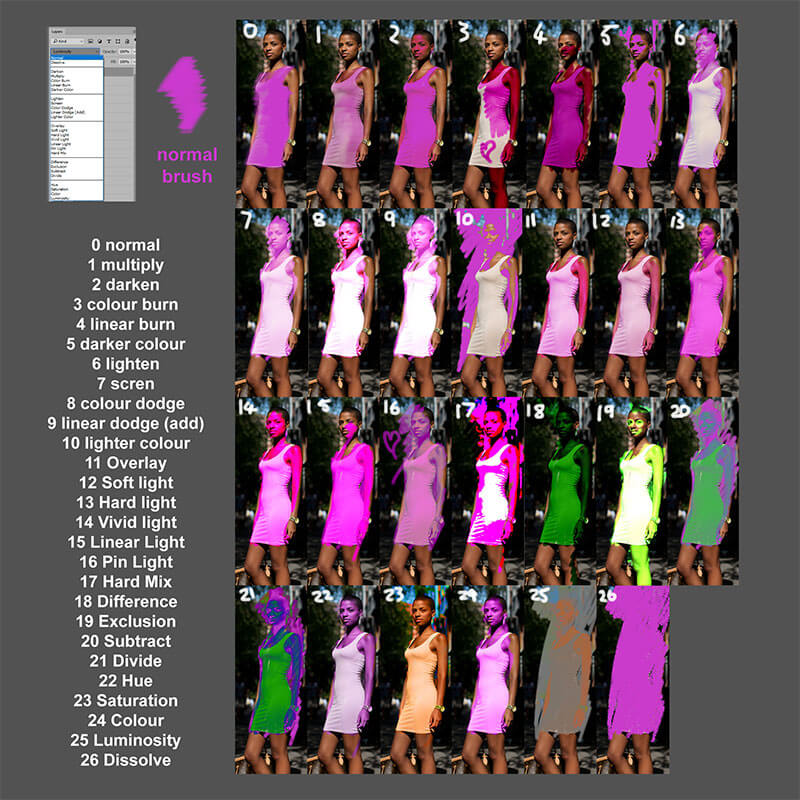
DAY 13 • LAYER TYPES
This was mad. One of the videos on CtrlPaint.com revealed how the Normal Layer Type mimics Acrylic paint, while setting it to MULTIPLY is like working with Watercolour Paint; I took it upon myself to see how each of the other 25 layer types behaved; This was actually very interesting – I personally like: 10, 16 and 23 :)
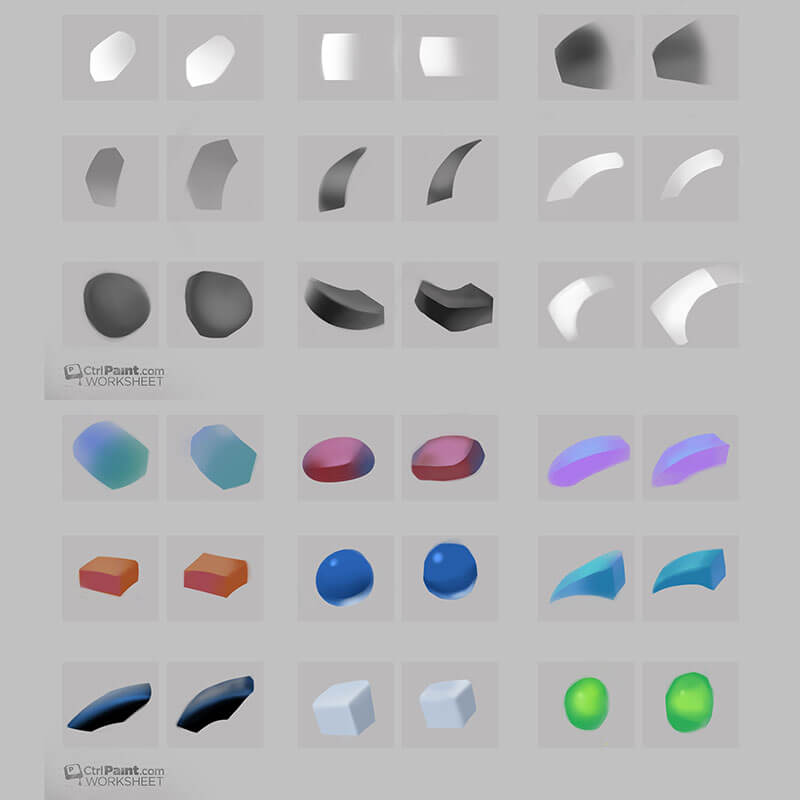
DAY 14 • CLIPPING MASKS AND BRUSH CONTROL
You had to recreate the 18 shapes on the left, using only the brush tool, eraser and clipping masks; very fun. You can find the exercise, and worksheets, via this CtrlPaint Brush Control Pt.1 video
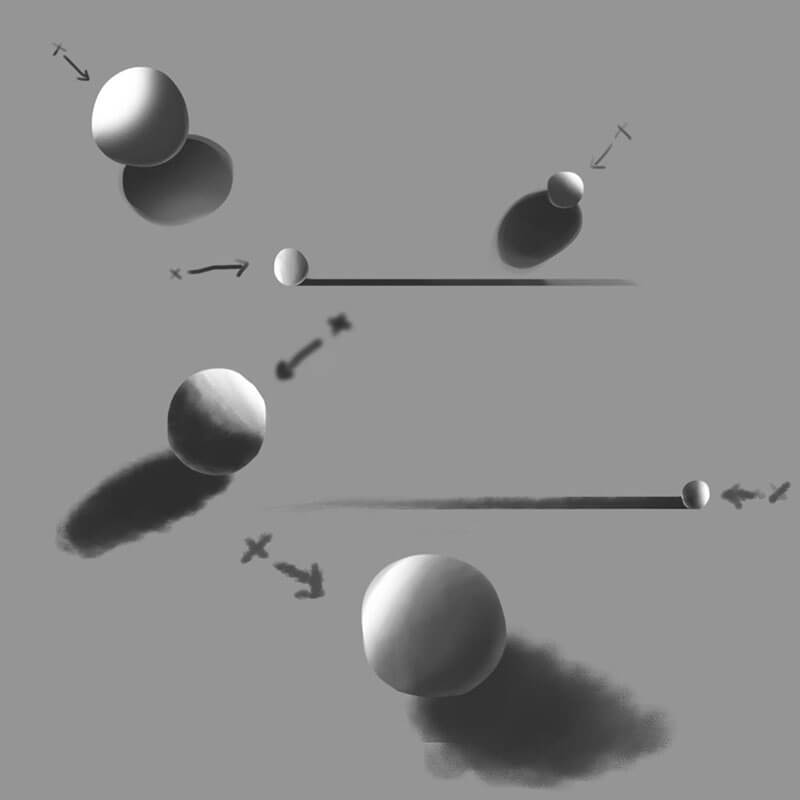
DAY 15 • SKETCHING SPHERES
I felt confident enough to start trying to sketch some digital spheres on day 15. This is one of my favourite traditional Drawing Exercises; but doing them digitally never felt right. They were all done with clipping masks, and I certainly couldn’t have done this a few weeks ago, but I had this strange feeling I wasn’t using the right brushes.
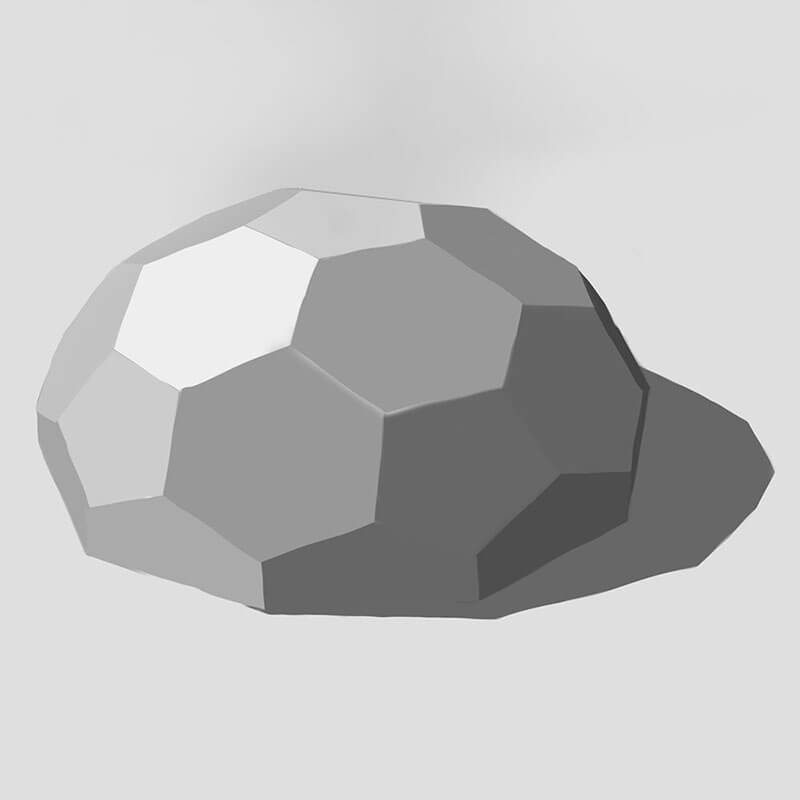
DAY 16 • MORE BRUSH CONTROL
This was another fun exercise from CtrlPaint called Brush Control Pt. 2 which had you colouring in all the sides of this complex shape, using only the brush, and eraser tools; so much harder than it looks in the video :)
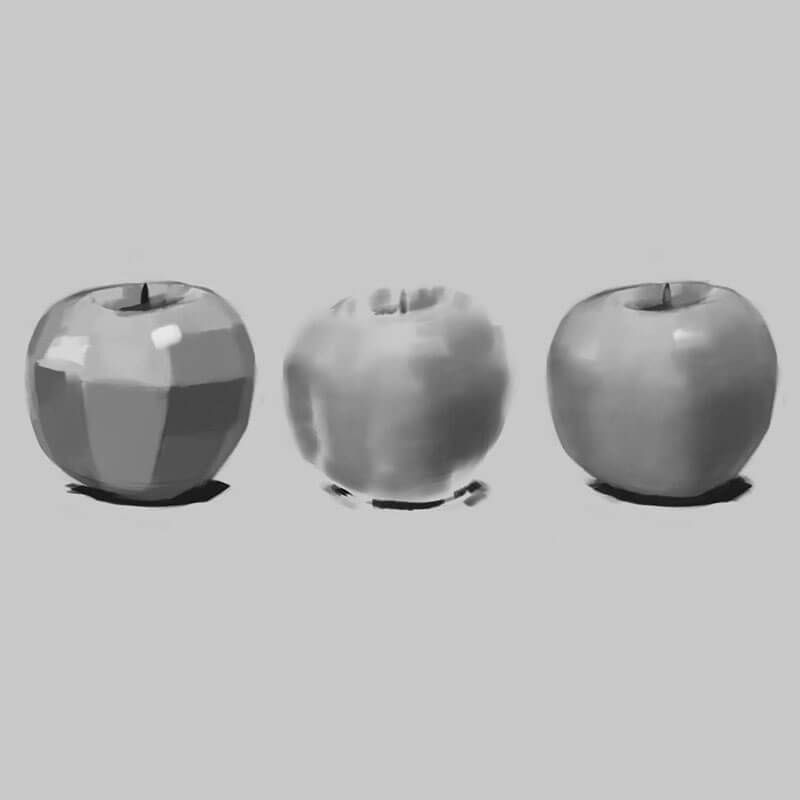
DAY 17 • I LOVE APPLES
Yet another fun and rewarding exercise from Matt Kohr, at CtrlPaint.com. This one had you trying to get a nice smooth blend on an apple, using only the brush tool. In the image, the apple on the left is the original, the middle is my layer, and the right is the two together.
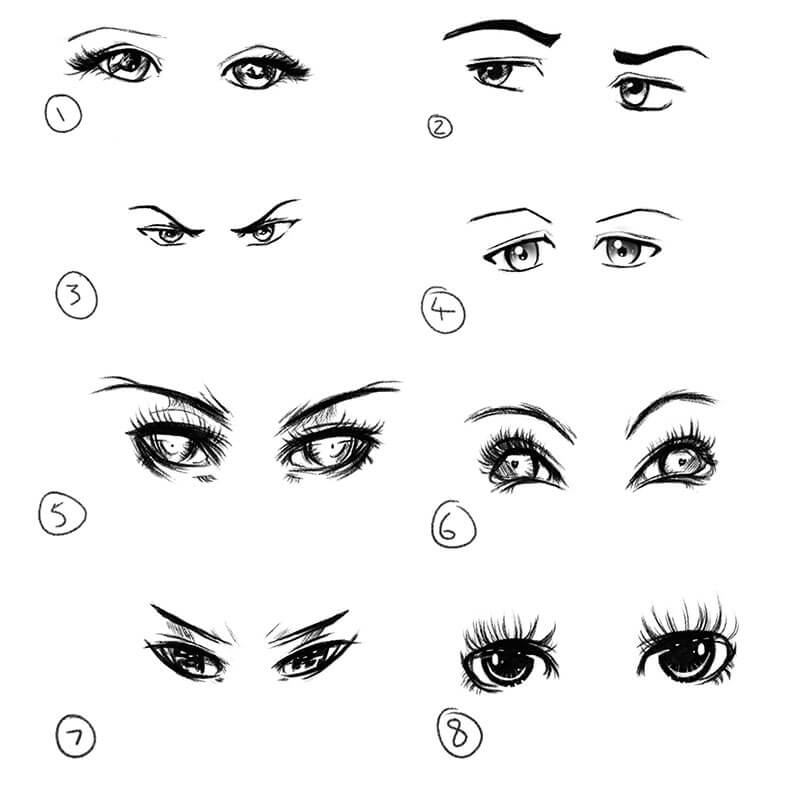
DAY 18 • FEMALE MANGA EYES
Photoshop CC updated to version 2018, and with it came some new brushes from Kyle – a set of which are Manga themed :) I am in love with them; these eyes were done with the Kyle’s Manga – Pencil Yujin brush
Reference for the eyes from DevinartArt users, Ryky and Silvercresent11
KEYBOARD SHORTCUTS LEARNT THIS WEEK
- CTRL + ALT + G • Create Clipping Mask (also possible by ‘Alt Clicking’ between two layers)
- CTRL + J • Duplicate Layer
- SHIFT + CTRL + P • Flip Canvas Horizontally (custom shortcut set via edit>preferences)
- [ • Decrease Brush Diameter (while Brush/Eraser is active)
- ] • Increase Brush Diameter (while Brush/Eraser is active)
WEEK FOUR
Tings started to take a turn for the worse during week four … not as bad as a rotten apple, but it was all about Eye Strain. Find out more in the WEEK FOUR BLOG POST
THE BRUSH TOOL IS AT THE BASE OF ALL DIGITAL PAINTING
– Matt Kohr [CtrlPaint.com]