THE DIGITAL DREAM WEEK NINE
Only four weeks left until The Digital Dream comes to an end; I spent this week mostly getting to grips with Clip Studio Paint Pro ... I am in love with it!
Before I explain some of the reasons why, let’s take a look at this weeks stuff :
DAYS 49 TO 54
STUDY EXERCISES


STUDY EXERCISES
DAY 49 • CLIP STUDIO PAINT CHIBI SKETCH
lilSOPHiE’s going to be faceless … pretty sure of it now.
My heart wants her to be faceless, but my head keeps saying you can’t do that … Heart Always Wins :)
The pencil brushes in Clip Studio Paint are so cool; they look and feel so close to a proper pencil.
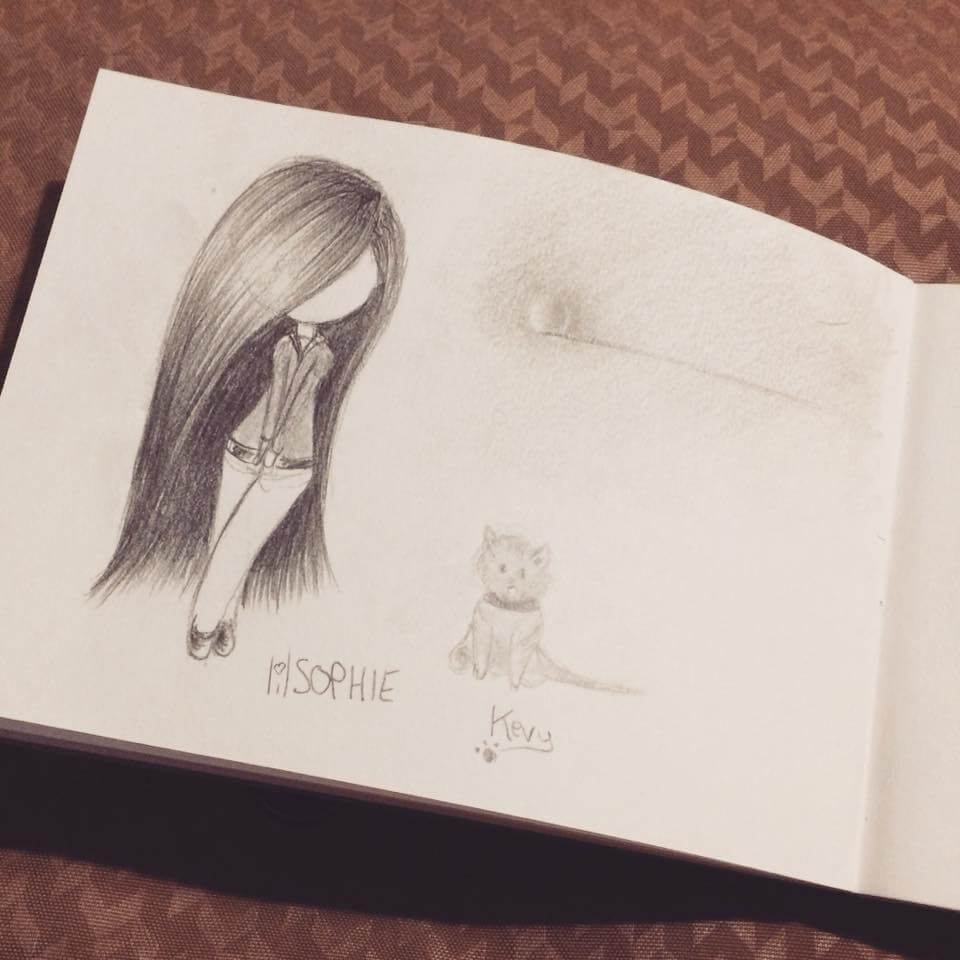
DAY 50 • CHIBI PENCIL SKETCH
Some quick sketches from the bus ride to and from work today :)
These little sketchbooks are so cool; they’re only about A6 in size, so you can keep em in your pockets at the ready.
80p in the local art shop :)
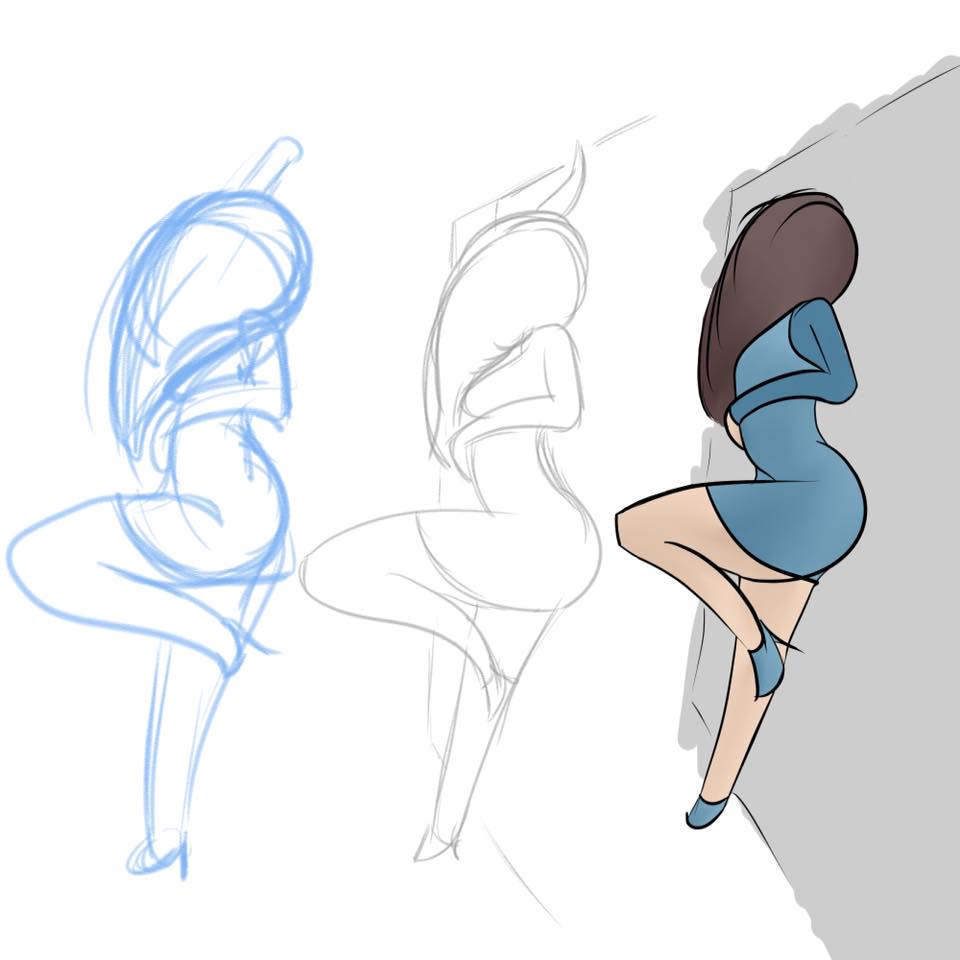
DAY 51 • DIGITAL DRAWING FROM ONE OF MY MODELLING PHOTOS
A Digital Sketch using one of My Photos as reference :)
I didn’t make her head big enough … I tried, but was really hard from this angle :(
Side note, those computer glasses work. I forgot to put them on today, and after a couple hours ended up getting an eye ache. So they really do work! :)
DAY 52 • lilSOPHiE AFFIRMATION
Had a cool idea last night
Was doing my daily meditation, when a thought popped into my head from no where…
…combine these lilSOPHIE sketches, with my favourite affirmations, to produce a series of single squared images.
Affirmations are so powerful, they’ve changed my life
This one isn’t actually an affirmation lol it’s only a test; I think this could be fun :)
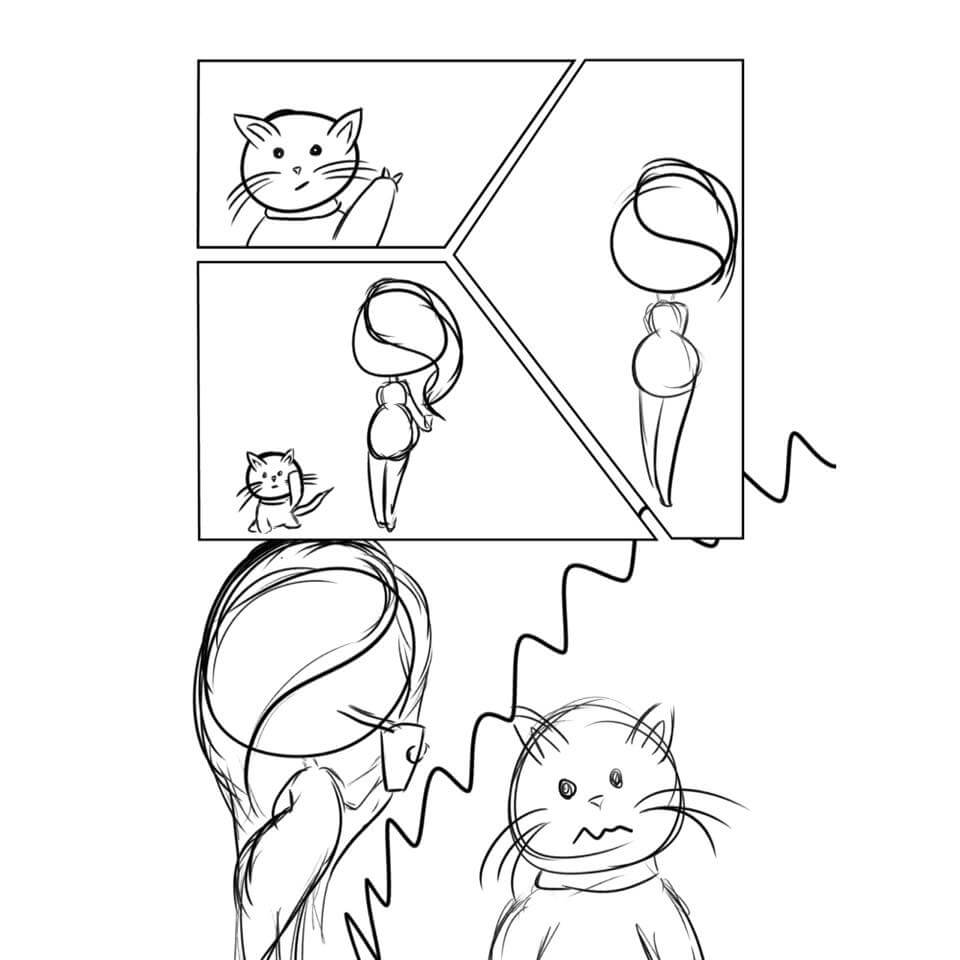
DAY 53 • lilSOPHiE WEBCOMIC LAYOUT SKETCH
A little bit different today :)
Only 22 days left, so thought I better try putting a pretend webcomic together; just to see if I enjoy the process.
I did the thumbnails on paper, than sketched the layout on the computer.
All the text and bubbles are done, but I hid them so you have no idea what’s going on :)
I started trying to ink KEVY too; for such a basic looking kitty, he’s well hard to draw consistently :(
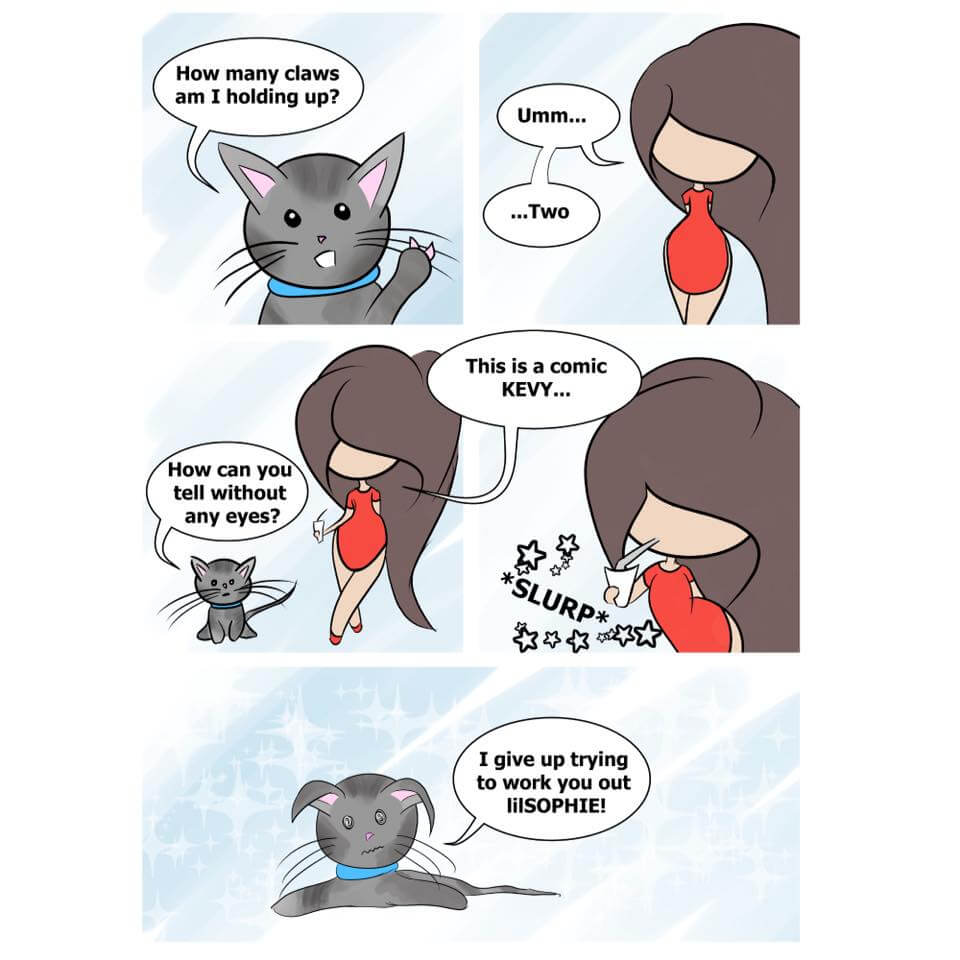
DAY 54 • lilSOPHiE WEBCOMIC
Ever bitten off more than you can chew? I think that’s whats happened here lol
Can we pretend this doesn’t exist? :)
No idea if it makes sense to anyone but me, especially as I had to cut a couple lines out, but it was at least fun putting it all together
I did me best, that’s all you ever have to do :)
CLIP STUDIO PAINT PRO
This week was all about sketching lilSOPHiE, both traditionally on the bus to and from work, and digitally via Clip Studio Paint Pro.
I’ll do a separate blog post on Clip Studio Paint Pro in the future, so this will just be a little round up of why I love it so much, after only a few days of playing with it. The main reason? The brushes!
THE DEFAULT BRUSHES
I used Photoshop for the first eight weeks of this challenge, but was always fighting the brushes. I never felt at one with them, despite trying various sizes, opacity and flow settings and even a bunch of custom brushes … I was never truly comfortable, like I am with a pencil and paper.
I fired up Clip Studio Paint Pro last week, after buying it in the Black Friday Sale, and instantly felt way more in control of my lines. I can’t explain it really, other than to say the default brushes, on the default settings, behave the way I want them to.
The pencil acts like a pencil, the pen acts like a pen, and the line quality of both is beautiful; Clip Studio Paint Pro has beautiful default brushes.
LINE CONTROL
The default way to draw in Photoshop is with raster layers (where each stroke is made up of tiny squares), now, I don’t know what Photoshop is like when using vectors (where each stoke is a calculation of possibility), but Clip Studio Paint Pro basically uses vectors for it’s line work. You can use raster layers if you want, but I used the vector layers and was blown away with the level of control available.
This might be hard to explain without examples, which is why I’ll do a separate blog post in the future, but what happens is, you place down your line, than using the line correction tool you can smooth out uneven lines, and a few other things, but, what I really love … you can reshape the line.
With the Control Point tool selected, if you place the cursor over any line you drew, it will show a ton of green dots along it which are all independently drag-able, allowing you to change the shape of the line.
NOTHING IS PERMANENT!
It allows you to free up and do way more confident lines; if you place down a sexy flowing line that’s not quite right, keep it, than using this tool you can fine tune it later; adding in more detail or emphasis.
It really is incredible.
CLIP STUDIO PAINT PRO IS SMART
Clip Studio Paint Pro also does a lot of little things that are just so cool, saving you time and making things super easy. Off the top of my head, my three favourite things are:
- Changing Line Colours
- Erasing Between Spaces
- Auto Joining Web Comic Frames
Changing Line Colours
This is neat. Basically, everything you place down can be fully adjusted after the fact. So, say you have a layer full of 1000 black lines, but think, actually, I’d like them to be pink. Easy, go to the object tool and you can change all of the lines at once to any colour.
In photoshop I never found an easy way to do this, in Clip Studio Paint Pro it is so simple.
Erasing Between Spaces
Something else that will be hard to explain without images, but, lets say you drew a figure, but the line of the leg was cutting through the arm. You wanted to erase just the section of the leg line visible on the arm, so that the arm appeared to be in front of the leg.
In Photoshop you would have to zoom in and carefully erase between the two lines, or, use separate layers than merge them together.
In Clip Studio Paint Pro, when working with vector lines, if you select the vector erase tool, you can simply mark the part of the leg line that appears on top of the arm, and Clip Studio Paint Pro is smart enough to realise what you’re trying to do, and will erase just that section of the line nice and cleanly.
I hope that makes sense, it really is so cool. Again, it frees you up to be more relaxed when inking; any overlapping lines you can leave and sort out later :)
Auto Joining Web Comic Frames
This one is cool too, I’ve just started seeing how the comic creation side of Clip Studio Paint Pro works, but it is already so much easier than I expected. When doing the frames, everything is taken care of for you, so you can focus on just drawing and telling the story.
For instance, when drawing your frames for the panels. Say you wanted a long oddly shaped rectangle one, instead of trying to line everything up, you can just draw three sides of it, than hit enter and it will join them up perfectly for you.
It’s a little thing, but it all adds up to a really nice experience.
There’s tons more, I am so glad I took a risk in switching over to Clip Studio Paint Pro, I feel like I couldn’t go back to Photoshop now for drawing. You can even open up Photoshop files inside of Clip Studio Paint Pro, complete with all the layers still separate … that amazed me the most.
You can even save your Clip Studio Paint Pro work as a Photoshop file, allowing you to bounce between the two programs whenever you want.
Amazing.
WEEK TEN
Week ten saw me sketch lots of lilSOPHiE Affirmations in Clip Studio Paint Pro, but what are Affirmations? And do I still love Clip Studio Paint Pro? Find out, in WEEK TEN OF THE DIGITAL DREAM BLOG POST
CREATIVITY IS INVENTING,
EXPERIMENTING,
GROWING,
TAKING RISKS,
BREAKING RULES,
MAKING MISTAKES,
AND HAVING FUN
– Mary Lou Cook