RECOMMENDED ART TOOLS

ART TOOLS

“THAT’S IT … BLAME IT ON THE TOOLS!”

These are my recommended tools; tools I now reach for instinctively. Paper, Pencils, Erasers and more, you’ll find out which tools I highly recommend. I often get asked which pencil is the best? Which eraser is the best? Which paper is the best? But it’s impossible to say. There is no such thing as, ‘the best pencil’ for instance. My favourite pencil you may not like the feel of, my favourite pencil for sketching may be totally useless for realistic drawing … so this list is just a collection of tools I highly recommend. I detail certain situations where each tool works best, but you should always experiment with as many tools as you can, till you find the one that ‘feels’ right for you.

PAPER

It’s amazing how different paper will change the look and feel of a drawing. In 2013 I tried so many different types of paper as I struggled to find something that ‘felt right’ for my Realistic Drawings. I now not only have my go-to paper for Realistic Drawing, but also different types of paper for Gesture Drawings, Segment Drawings and Sketching, which can all be found below.

Paper sizes for reference:
A3 – (297 x 420 mm) / (11.7 x 16.5 in)
A4 – (210 x 297 mm) / (8.3 x 11.7 in)
A5 – (148 x 210 mm) / (5.8 x 8.3 in)
A6 – (105 x 148 mm) / (4.1 x 5.8 in)

https://sophielawson.com/wp-content/uploads/2016/10/tool-1-bristol-board-paper.jpg
Winsor & Newton Extra Smooth Surface Drawing Pad Bristol Board
BRISTOL BOARD

I only use Bristol Board for Realistic Drawings, and mainly in A4 size, but I do own it in A3 and A5. I was recommended Bristol Board paper via the book ‘How to Draw Lifelife Portraits from Photographs by Lee Hammond‘. After much trial and error with different makes, I settled with the Winsor & Newton Extra Smooth Surface Drawing Pad.

This Bristol Board is super smooth, with pencils and tortillions sliding across it’s surface so effortlessly, producing lovely smooth results every time. It’s also pure white, allowing for highlights to really pop, which I feel is important when doing realistic work. I wouldn’t use this paper to sketch on, partly because it’s a tad expensive, but also because it requires a lot of time to work with. I find you have to be slow and gentle with this paper. Sketching you need to be quick and almost dirty; this paper would turn her nose up at you if you started treating her like that :)

Good for – REALISTIC DRAWING | BLENDING

https://sophielawson.com/wp-content/uploads/2016/10/tool-2-cheap-a3-paper.jpg
CHEAP £1 A3 PADS
I use these cheap A3 paper pads from Wilkos when gesture drawing. They are effectively just 30 sheets of A3 printer paper stuck together, but as the paper is nice and smooth, it allows for fast clean gestural lines; perfect for gesture drawing. At only £1, I get about a weeks worth of 30 minute daily gesture drawing out of them. So pretty cost effective.

Good for – GESTURE DRAWING | FAST MOVEMENTS

https://sophielawson.com/wp-content/uploads/2016/10/tool-3-winsor-newton-a6-pads.jpg
A6 WINSOR & NEWTON SKETCH BOOKS

I use these Heavy-Weight Wire-O Winsor & Newton A6 Sketch books for all my Segment Drawings; both graphite and coloured pencil work. Each sketchbook comes with 50 sheets of 170gsm/80lb heavy weight pure white paper, which is almost Bristol Board like quality, not quite, but it has a nice smooth texture to it and is pretty thick. This allows for some highly detailed little sketches and segment drawings.

They come in both spiral and glue bound versions; I always go with the spiral bound ones, as I feel more confident to throw the book around without fear of destroying other pages. I love these little pads so much, you can get them for around £2.50 from places like the Range … I stock up on them now :)

Good forSEGMENT DRAWINGS | COLOURED PENCIL SKETCHING | DETAILED SKETCHING

https://sophielawson.com/wp-content/uploads/2016/10/tool-4-a4-sketchbooks.jpg
A5 & A4 SKETCHPADS

I personally prefer paper somewhere around 100gsm / 65lb. This rough paper is ideal to quickly sketch on. If I’m at home, I will usually sketch on A5 pads, but the A4 pads have become my go-to paper for life drawing. A4 is just big enough to allow for nice sized drawings, while not being so big you can’t finish the drawing. Like the A6 Winsor & Newton pads above, I always stick with the sprial bound ones; I feel more at ease with each sheet of paper being separate.

Good for – LIFE DRAWING | FAST SKETCHING | SKETCHING PEOPLE IN PUBLIC

PENCILS

It’s worth noting, I hardly ever use traditional wooden pencils. I always have a couple in my various pencil cases, but I tend to stick to mechanical pencils. Main reason being; I don’t have to worry about sharpening them :) Mechanical pencils are so good at staying sharp, when they snap, click click … nice new sharp pencil lead :)

https://sophielawson.com/wp-content/uploads/2016/10/tool-5-mechanical-pencils.jpg
“0.5mm MECHANICAL PENCILS

Easily my most used pencils. I always have a 2H, 2B and 4B 0.5 mechanical pencil in my left hand while drawing. They come in all flavours: ranging from 6H to 4B. Being only 0.5 mm thick, the leads are incredibly delicate and prone to snapping; especially the 2H-6H ones. However, they are a must for highly detailed work, such as drawing hair. My personal favourite 0.5 mechanical pencil is, ironically, a cheap one I purchased for 50p in WHSmith; the mint green and pale pink one in the photo above. It doesn’t have any clips getting in the way, feels nice to hold and is a pencil that keeps it nice and simple. I love it. I feel at one with this pencil :) Just proves, you don’t need to go crazy buying loads of expensive pencils!

Good for – REALISTIC  DRAWING | LIFE DRAWING | FINE DETAIL | DRAWING SPHERES | SEGMENT DRAWINGS

https://sophielawson.com/wp-content/uploads/2015/07/004-art-tools-header.jpg
STAEDTLER MARS TECHNICO 2mm CLUTCH PENCILS

These pencils are pretty nifty. Having 2mm leads (four times the thickness of regular mechanical pencils) they allow for some pretty exciting lines … especially when sketching. They’re not like regular mechanical pencils, where you click the top to push the lead out. With clutch pencils, when you press the top, the lead will slide all the way out until you let go. So you can easily manipulate the length of the lead, depending on the task at hand. The Staedtler Mars is really comfortable to hold and has a nice weight to it; I feel at one with these pencils also. If you have more than one of these, make sure to check the top of the refills, as they come with little replaceable colour coded ends for the pencils.

Good for – LIFE DRAWING | SKETCHING | COVERING LARGE AREAS

https://sophielawson.com/wp-content/uploads/2016/10/tool-6-6b-clutch-pencil.jpg
5.6mm KOH-I-NOOR HARDTMUTH 6B CLUTCH PENCIL

In 2014 I was looking for a pencil that would allow me to go darker with my work. My darkest 0.5 mechanical pencil was a 4B, and so off I went searching for a 6B pencil. I tried a few, but the 5.6mm Koh-I-Noor Hardtmuth was the one I settled on. This thing is a beast! I swear you could knock someone out with one of these lol This clutch pencil will produce some pretty intense lines, with the 5.6mm lead being so fat (over 11 times the thickness of my little delicate 0.5 pencils) you can rotate this pencil while drawing to have fat lines seemlessly flow into thin, and vice versa. A really epic pencil!

Good for – GESTURE DRAWINGCOVERING LARGE AREAS | FAST SKETCHING

https://sophielawson.com/wp-content/uploads/2015/07/005-art-tools-header.jpg
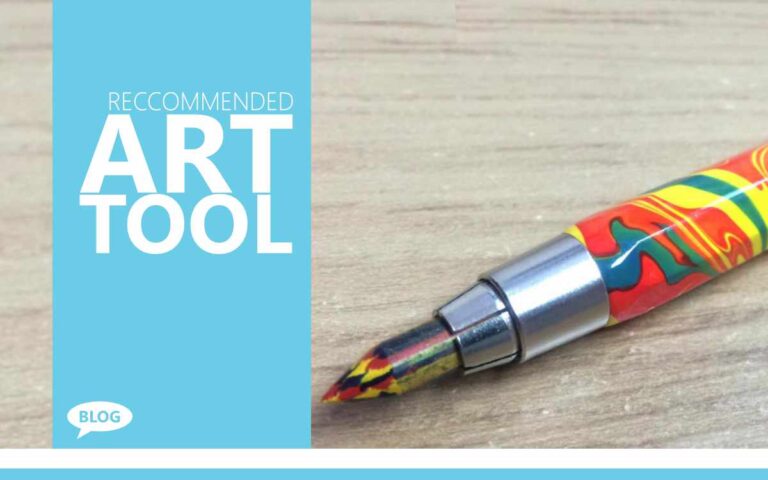
5.6mm KOH-I-NOOR HARDTMUTH MAGIC CLUTCH PENCIL

It’s funny how things happen some times. While looking for a 6B pencil back in 2014, I stumbled across this cutie. I was drawn to her multicoloured casing, I had no idea her lead matched her crazy outfit. Like her sensible brother above, she’s a 5.6mm pencil, meaning she’s a bit of a fatty lol However, she rocks it! Her lead is a mix of red, yellow and blue … so as you place a line down, you have no idea what colour you’re going to get.

I cannot use any other pencil for gesture drawing now. This pencil is so fun to use, she’s ideal for gesture drawing. Her texture is waxy and almost sticks to the paper, but in a really nice way. Allowing for so much control, again, perfect for fast gesture drawings. This pencil was one of those happy accidents, but I love her so much!

Good for – GESTURE DRAWING | HAVING FUN

https://sophielawson.com/wp-content/uploads/2016/10/tool-7-prismacolor-pencils.jpg
PRISMACOLOR PREMIER COLOURED PENCILS

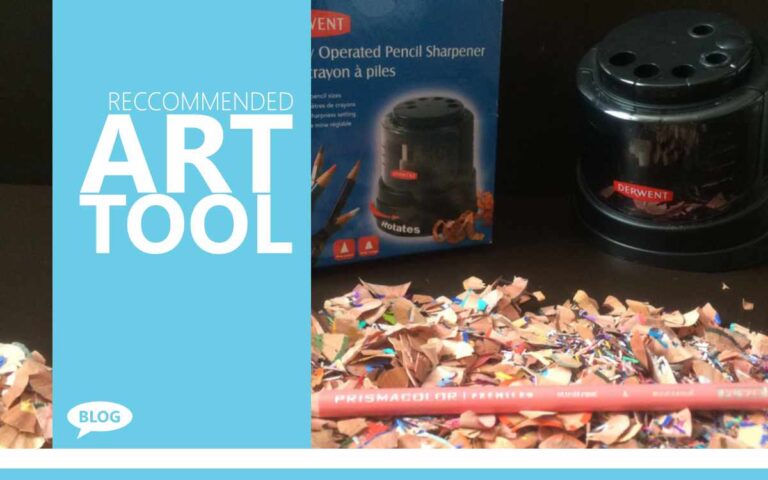
The texture of these highly vivid coloured pencils is incredible; really sticky, allowing for some awesome blending. Especially when used with Zest it Pencil Blend. At times it’s almost like working with pastell or paints. I’ve heard people talk of these pencils breaking when sharpening, but I’ve had a lot of success using the Derwent Battery Operated Sharpener.

Good for – COLOURED PENCIL WORK | DETAIL | BLENDING

ERASERS

Erasers are equally as important as pencils. They really come into their own when doing realistic work too, such as rendering hair. The following erasers are my most used; each one perfect for different situations.

https://sophielawson.com/wp-content/uploads/2015/07/003-art-tools-header.jpg
Tombow Mono Zero Eraser Pen

My most favourite of all art tools. I would say this is my most used tool behind the trusty pencil. It can do so much. If I was only allowed one eraser, this would be the one I’d choose. It’s maybe not the best in certain situations, such as erasing large areas, but this thing can still do it … it would just take a while :) I recommend having some sort of craft knife on hand with these, as you will want to cut the eraser from time to time to restore a nice clean edge. A fantastic eraser, I always have this in my left hand when drawing, so that he’s ready to be called into action at short notice :)

Sophie Tiptry removing the plastic clip on the end, I find it makes the eraser nicer to hold

Good for – HIGH DETAIL LIKE HAIR | SORTING OUT DIRTY EDGES | ADDING HIGHLIGHTS

https://sophielawson.com/wp-content/uploads/2016/10/tool-8-kneaded-eraser.jpg
FABER-CASTELL KNEADED ERASER

I’ve never been able to truly feel at one with the kneaded eraser if I’m being honest, but it is still one of my most used erasers; such is it’s ability to do things that other erasers can’t. Such as softly removing tone, or creating effects, like blurry backgrounds. The background on my Miranda Kerr drawing was created using both the kneaded eraser and dirty tortillions. I feel in the right hands, this thing could be epic. I tried so many different ones; some were too hard, some where too sticky, but this Faber-Castell one felt lovely. It also comes in a nice little snap shut case, very impressive, considering how cheap it is! I have a few of these lying around now; they seemingly last forever!

Good for – CREATING EFFECTS IN THE BACKGROUND | SOFTLY REMOVING TONE

https://sophielawson.com/wp-content/uploads/2016/10/tool-10-mono-eraser.jpg
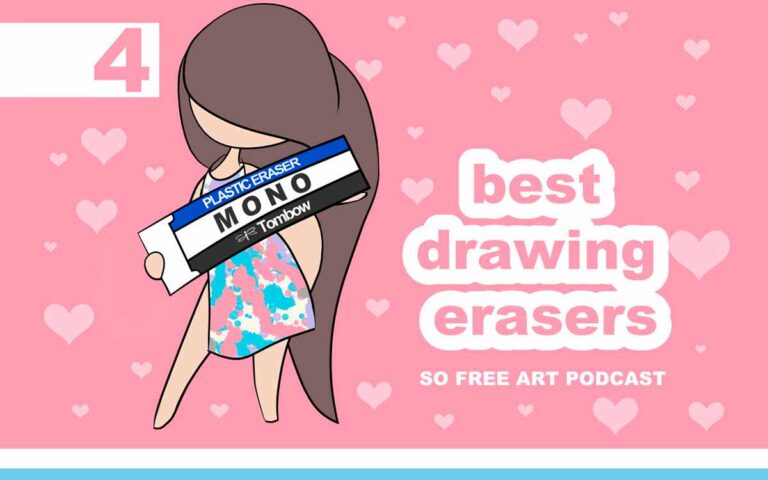
TOMBOW MONO PLASTIC ERASER

The good old plastic eraser! This 1.2 x 11.5 x 14.5 cm Mono Eraser is a Japanese import. It’s used by all the Manga Artists, which is why I originally purchased it :) It. Is. Heavenly! Not only can you remove some pretty dark tones with this thing, but you will have confidence knowing it won’t smudge your work. You can be really forceful with this eraser and it won’t break apart like other erasers. Seriously love this thing … plus it comes in a sexy little blue and white outfit :)

Sophie Says – I saw this eraser on Taki’s desks during the Anime Your Name. Made me smile :)

Good for – REMOVING LARGE AREAS OF TONE | SORTING OUT DIRTY EDGES | CLEANING MY DIRTY DESK AFTER A DRAWING SESSION

https://sophielawson.com/wp-content/uploads/2016/10/tool-9-battery-eraser.jpg
AKAR BATTERY OPERATED ERASER

These things are pretty awesome. This bad boy normally comes out at the end of my realistic drawings, when the fun starts and I need to make things pop. The white catch light in the eyes for instance, I would always use one of these for that job. While it is also good for picking out white lines, such as when rendering realistic hair, I would normally reach for the Mono Eraser Pen, as I find that more consistent. To shape the eraser, you’ll want to get some sandpaper, or a little artist’s sandpaper board. No other eraser will restore the white of the paper like one of these.

Sophie Tipstock up on batteries, this thing eats them like sweets

Good for – DETAILED WORK | ADDING HIGHLIGHTS | RESTORING THE WHITE OF THE PAPER

EXTRA TOOLS

These may be extras, but they are all no less important than the tools above. Tools such as Tortillions; the little roll of paper that allows for lovely smooth pencil blending, or Zest It; liquid which allows for an almost paint like blend to coloured pencils. Every tool that follows is now well and truly part of my drawing process.

https://sophielawson.com/wp-content/uploads/2016/10/tool-15-tortillions.jpg
BLENDING TORTILLIONS

Truth is, when Lee Hammond introduced these into my life, my drawings began to take on a whole new life. Tortillions are used to blend graphite pencil; ideal for realistic work like Portraits. Before Tortillions I was using my finger, tissues and even a brief spell with blending stumps … however I feel Tortillions are the the secret weapon to realistic drawing. They come in different sizes, but I like the small ones. They are pretty inexpensive, 12 for about £2, so it’s wise to stock up on them when you get the chance as you will need nice clean ones when blending skin or light tones. You don’t throw them away when they get dirty though, at this point, they take on a whole new purpose, allowing you to blend dark tones or create background effects. They are the ultimate tool for blending.

Good for – BLENDING TONES | CREATING NICE BACKGROUND EFFECTS | DRAWING SPHERES | HIGHLY REALISTIC SKIN | SOFTENING HAIR

https://sophielawson.com/wp-content/uploads/2015/07/002-art-tools-header.jpg
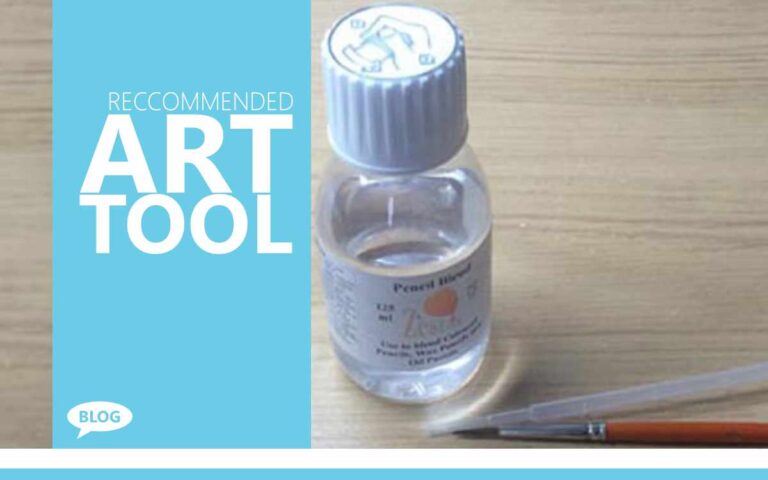
ZEST IT PENCIL BLEND

ZEST IT PENCIL BLEND

When I’m working with coloured pencils, this stuff is always at the ready. Along with a plastic lid, little paint brush, and spatula to allow for nice coloured pencil blending. This stuff works really nice with Prismacolor pencils, creating an almost paint like feel to your work. Zest It has become the Tortillions of the coloured pencil world for me. It also smells really nice :)

Good for – BLENDING COLOURED PENCILS

BLANK COLOURED PENCIL CHARTS
https://sophielawson.com/wp-content/uploads/2015/07/009-art-tools-header.jpg
BLANK COLOURED PENCIL CHARTS & VALUE SCALES

BLANK COLOURED PENCIL COLOUR CHARTS AND VALUE SCALES

I created blank colour pencil charts in Photoshop for Prismacolor Premier Pencils, Derwent Inktense Pencils, Faber-Castell Classic Pencils and Daler Rowner Pastel Pencils. Once filled out, these are a great way to get an overview of all your coloured pencils, but it’s the little value scale flipcharts I made using blank business cards and a holder that have become one of my most used tools when drawing with coloured pencils.

The flipchart lets you see each colour in more detail, even allowing you to take the card out so you can place it on your drawing to see how the colour really looks next to the rest of your drawing. It’s worth reading the full article of this tool, as I detail how to make your own coloured pencil flip charts and provide download links to all of the blank coloured pencil charts I created.

Good for – SEEING WHICH COLOURS COMPLIMENT EACH OTHER | REFERENCE FOR EACH COLOUR

https://sophielawson.com/wp-content/uploads/2016/10/tool-14-clutch-pencil-sharpner.jpg
STAEDTLER MARS LEAD POINTER TUB

You’ll want to keep your Staedtler Mars clutch pencils sharp, and while they do come with little sharpeners built into the cap, this thing does a much better job. It took me a while to get the hang of it, but it’s a great little device.

Good for – SHARPENING CLUTCH PENCILS

https://sophielawson.com/wp-content/uploads/2016/10/tool-12-leads.jpg
PENCIL LEAD REFILLS

You will need to stock up on leads for your mechanical pencils, especially the 2B and above leads, which get worn out pretty quickly. Leads are very inexpensive, and if you buy them in bulk, for around £10 you could easily have a enough for years! I’ve always stuck with Pental, they come in nice little plastic cases and the lead has a nice feel to them. For Clutch Pencils, I stick with the brand of the clutch pencil. So for the Staedtler Mars I only use official Staedtler Mars refills, same for the KOH-I-NOOR clutch pencils.

Good for – MAKING SURE YOU ALWAYS HAVE SOMETHING TO DRAW WITH

https://sophielawson.com/wp-content/uploads/2015/07/001-art-tools-header.jpg
DERWENT BATTERY OPERATED PENCIL SHARPENER

DERWENT BATTERY OPERATED PENCIL SHARPENER

When I’m doing coloured pencil work, this becomes my favourite tool. It always produces an amazingly sharp point, and I’ve had very little lead breakage with this sharpener. It’s also strangely satisfying feeding your pencils into this thing, it’s like a little monster sitting on your desk eating your pencils :)

Good for – SHARPENING PRISMACOLOR PREMIER COLOURED PENCILS | ANY SIZED PENCIL

https://sophielawson.com/wp-content/uploads/2015/07/008-art-tools-header.jpg
LAMINATING POUCHES

LAMINATING POUCHES

It may seem strange to list laminating pouches as a recommended art tool, but I seriously couldn’t work without these now. Whenever I’m doing a realistic drawing, I use one of these to cover my drawing from dust between sessions. Either slide your work in, or place it over the top of your drawing and stick it down with scotch magic tape. This way, your drawing is protected but you can still glance at it on your desk from time to time, meaning you’ll be able to work out, “Hey, that eye shouldn’t be there!” They’re also perfect to help grid portraits and I even use them to store my finished drawings in if I don’t want to frame them.

Good for – PROTECTING YOUR WORK | GRID PORTRAITS

https://sophielawson.com/wp-content/uploads/2015/07/007-art-tools-header.jpg
SCOTCH REMOVABLE MAGIC TAPE

SCOTCH REMOVABLE MAGIC TAPE

This stuff is amazing. Stick it to your paper, and it can easily be removed without leaving any marks at all. For months, when I first started drawing I was using masking tape to stick my paper to the desk while drawing. It did the job, but I noticed it was leaving dirty marks all over my paper once I had finished, plus, it had a tendency to rip the paper if I wasn’t careful. Once I found Scotch Removable Magic Tape, I never looked back. If you stick your work down while working, this tape is a must.

Good for – STICKING YOUR PAPER DOWN WHILE DRAWING

https://sophielawson.com/wp-content/uploads/2015/07/010-art-tools-header.jpg
MAKEUP BRUSH

MAKEUP BRUSH

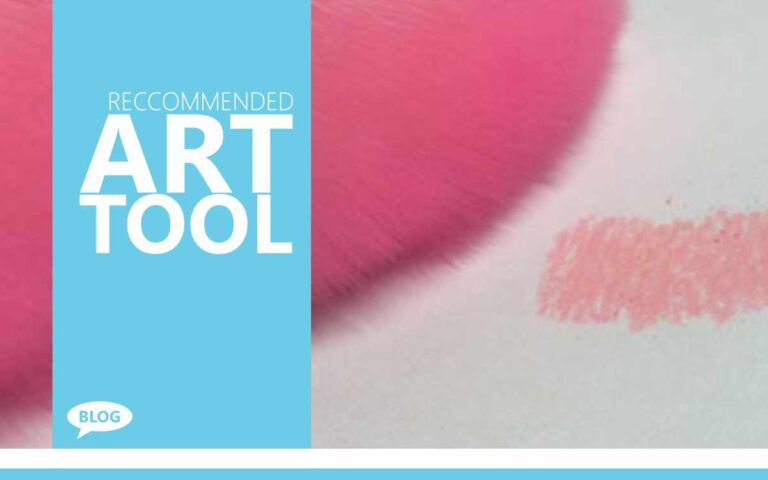
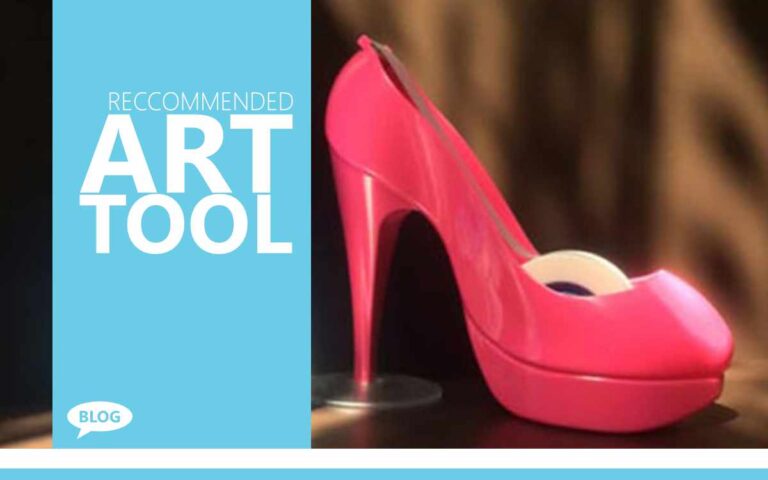
Again, another tool that might seem odd being on this list, but I have one of these in each of my pencil cases. Using your hand, or blowing, to remove eraser debris from your paper is a massive No! No! You’re just asking for trouble; sooner or later you’ll either smudge or leave spit (eww) on your work and ruin it. A makeup brush is perfect for gently removing any eraser debris, or biscuit crumbs lol Being so small, it fits in your pencil case with ease … I purchased a small Faber-Castell artists brush, but it’s still massive and honestly, I’ve only used it once. The makeup brush does a perfect job and I can keep it in my left hand while drawing with my right.

Good for – KEEPING YOUR WORK CLEAN

https://sophielawson.com/wp-content/uploads/2016/10/tool-18-sandpaper-block.jpg
SAND PAPER BLOCK

If you have a battery operated eraser, you’ll need something to shape the eraser to a fine point. You can use regular sandpaper just fine, but I personally didn’t want bits of sandpaper all over my desk, so I instead opted for one of these little sandpaper blocks from Derwent. Does the job, while keeping everything nice and tidy.

Good for – CREATING A NICE POINT ON YOUR BATTERY OPERATED ERASER

https://sophielawson.com/wp-content/uploads/2016/10/tool-16-knifes.jpg
CRAFT KNIFE

The Tombow Mono Zero Eraser Pen is an amazingly versitile eraser, but it does need to be kept nice and sharp to be at its best. This is where having a craft knife comes in handy. You can slice a tiny bit off the end of the eraser, leaving a beautifully straight edge. I have one in each of my pencil cases. It’s worth noting, at Life Drawing class I use a cheapy little stanley knife from the Pound shop, and it works great! So adding this tool to your arsenal doesn’t need to break the bank :)

Good for – SHAPING THE MONO ERASER PEN | ADDING TEXTURE TO COLOURED PENCILS

https://sophielawson.com/wp-content/uploads/2016/10/tool-11-glasses-case.jpg”
GLASSES CASE

Back in 2014, when I first started sketching people in public, I needed something to store my supplies in. I wanted it to be something I could leave in my work bag and forget about, so that I was ready to sketch whenever the moment arose. It needed to keep everything safe and not take up too much space. I found a hard glass case fit the bill perfect! It protects everything, you can slip it in your pocket if need be, plus it’s quick and easy to open / close. A great little way to store your sketching supplies when out and about.

Good for – STORING YOUR SUPPLIES WHILE OUT SKETCHING

“Hands are the Tool of the Painter, The Artist.”

Agnes Varda